The Survival Rule of Threes [FREE DOWNLOAD – Survival Key Three Tool & Skill Checklist]
Bushcraft, Cordage, First Aid, Foraging, Knots, Morale, Nutrition, Shelter, Survival, The Key Three, Water Treatment
Survival expert Creek Stewart says, “Survival is simple, just don’t die.” He’s right, but of course, because being right is why he’s an expert. Where people run into survival trouble is thinking that simple is the same as easy. Thru-hiking the Appalachian Trail or Pacific Crest Trail is simple, just take one step and then another and then another and repeat about five million times, but taking that many steps in a row ain’t easy.
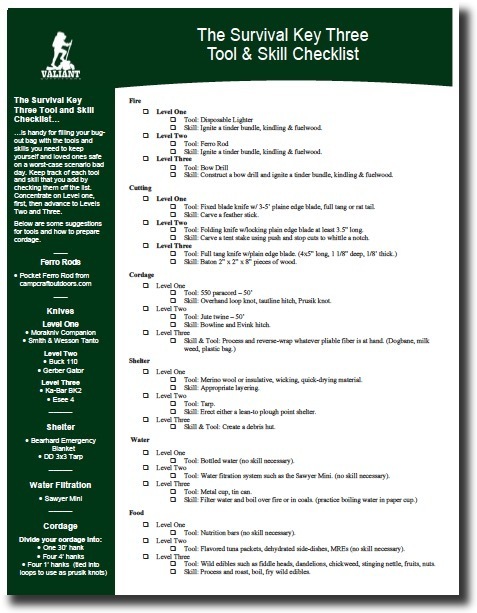
FREE DOWNLOAD
Survival Key Three Tool & Skill Checklist
The Survival Rule of Threes helps make the “just don’t die” part easy. It addresses 4 chronological issues for survival: the average person can survive 3 minutes without air, 3 hours without shelter, 3 days without water, and 3 weeks without food. This makes survival priorities simple because it doesn’t make much sense to plan for a survival shelter while you frantically gasp for air and your muscles spasm because you just broke through a frozen lake into frigid water. No, first GET OUT OF THE WATER! Or why would someone worry about building a deadfall snare before warming themselves as they stand dripping wet next to those semi-frozen waters that they narrowly escaped death from?
We can draft a simple action plan from the Survival Rule of Threes:
BREATHE then PROTECT then DRINK then EAT.
The “BREATHE” in the Rule of Threes implies wellness; PROTECT includes safety for yourself and those close to you; and DRINK and EAT are self-explanatory.
The Survival Rule of Threes, The Core Four, and The Key Three
Many survivalists list four “needs” or priorities for survival, called The Core Four: shelter, water, fire, and food. It’s apparent how the Core Four addresses the Survival Rule of Threes.
At the Valiant Outfitters Family Survival School, we condense the Core Four down to the Key Three: shelter, water, and food. (Sometimes, we jokingly call them “The Three Shuns”: PROTECTION, HYDRATION, and NUTRITION.)
But why is FIRE left out in the cold, so to speak? If the mission of survival is three-pronged: protect, hydrate, and eat, then fire is the prime directive. Fire is integral to successfully implementing the Key Three. Fire provides warmth and morale in the shelter area, is a best practice for purifying water, and is effective in preparing a wide variety of food. It’s over-arches the Key Three of survival.
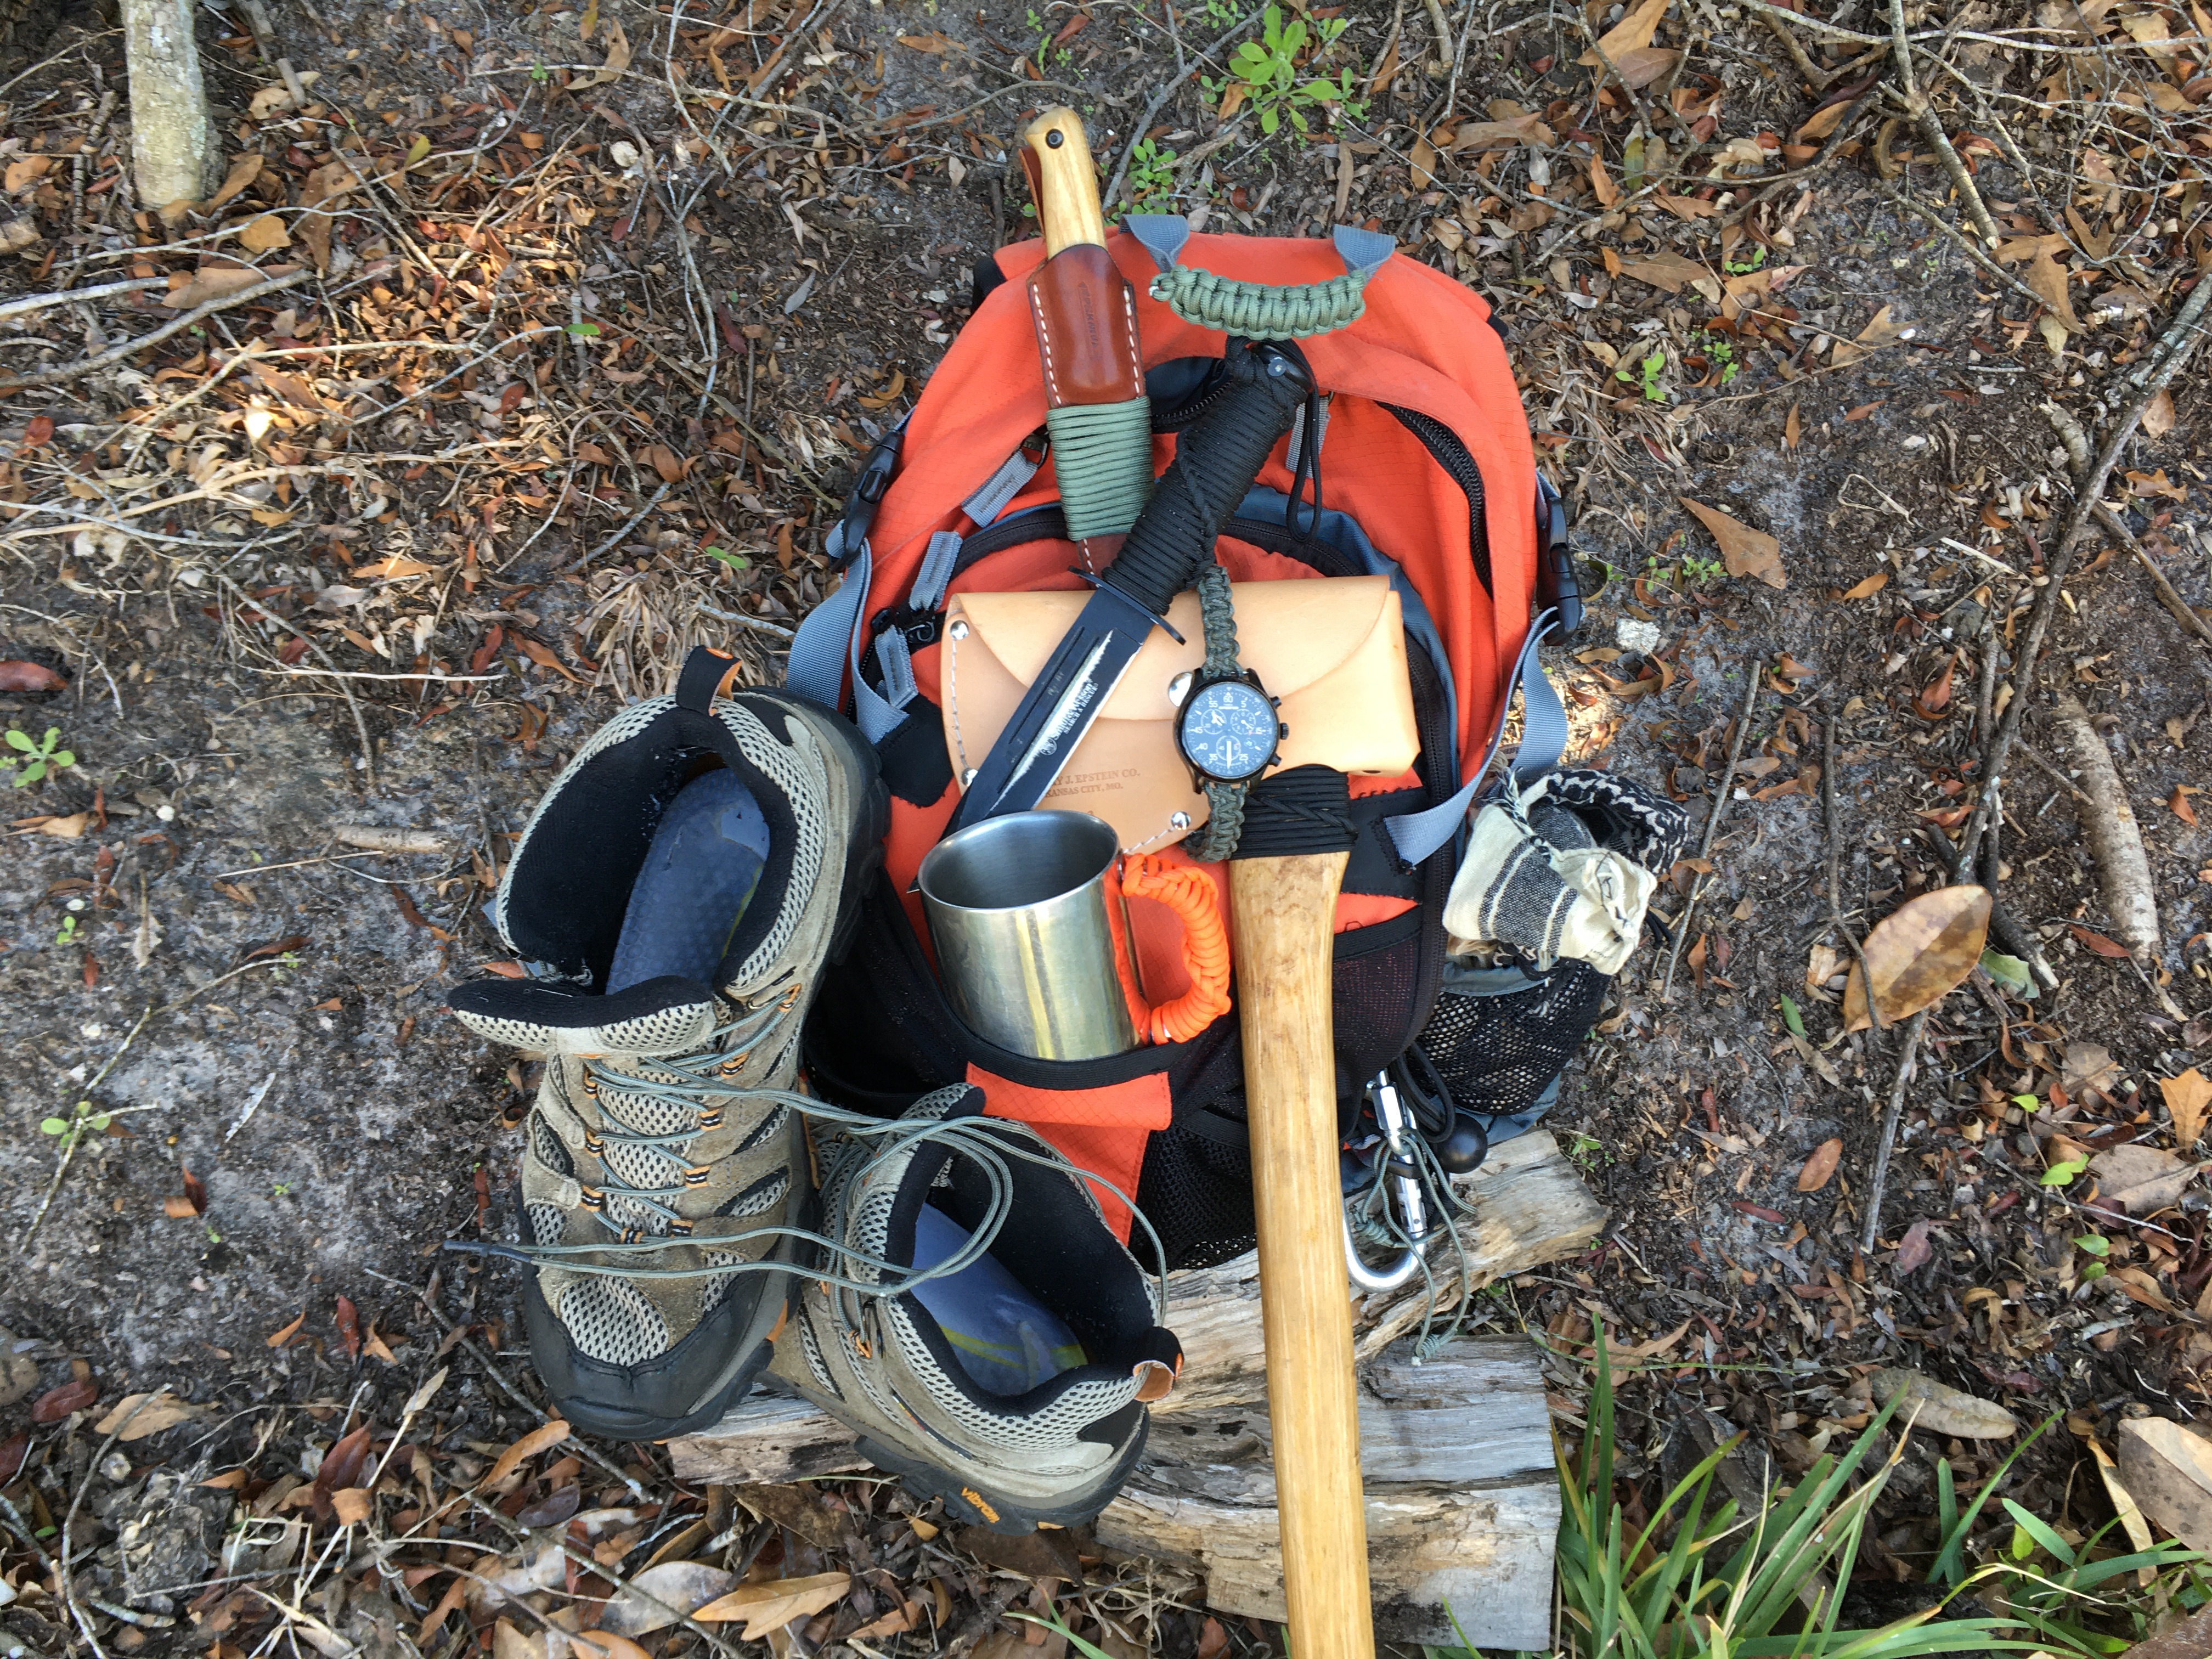
If you haven’t noticed, I like to use math. I’m not particularly good at it, but it helps me remember things. Math to adds up (pun intended). The number 3 is a recurring theme in my approach to wilderness survival. Along with PROTECTION, HYDRATION, and NUTRITION the Key Three approach includes three levels of redundancy. Surviving a worst-case scenario is possible only when we have both the tools and the skills necessary to use those tools. Redundancy in the Key Three comes from over-lapping tools and skills. Having a specific tool, but lacking the skill to use it, is at best ineffective. More than likely a lack of skill will spell disaster in a survival situation. Think about the tools in a bug-out bag or bushcraft kits. Some of them are classified as weapons in another scenario.
An ill-equipped or poorly maintained tool can be more dangerous than no tool at all. Abraham Lincoln famously, and appropriately, said, “Give me six hours to chop down a tree and I will spend the first four sharpening the axe.” Lincoln divided the chore into thirds, committing two-thirds to prepare the tool and only one-third to the actual chore. He’d rather spend twice as much time honing his axe than he would be using it.
Mr. Lincoln referred to a physical axe. But knowing his ability to turn a phrase, it’s likely that he was also talking about “sharpening” physical and mental skills, too. The well-equipped survivalist or bushcrafter doesn’t just have a collection of well-maintained tools, he or she also hones the skillset necessary to use those tools effectively. In addition to using pre-fabricated tools, the bushcrafter has the skills to provide fire, shelter, water, and food with whatever items are at hand.
The Key Three strategy for survival hinges on three levels of tools and skills.
Level One tools are pre-fabricated, usually commercially produced. They are easy to use and pretty much guarantee success in harsh conditions. Level Ones require little or no skills for success.
Level Two tools can be commercial items, pre-fabricated, or easily constructed in the field. These tools require a moderate skill set for success and are a hybrid of Level One and…
Level Three tools, which are based completely on advanced skills and can be constructed without any materials carried into the field. Level Three tools are McGuyver tools. These are the tools that fall under the idea that “my pack may be full, but my brain always has room.”
Let’s drill down on the Key Three approach and how it works with the Survival Rule of Threes.
FREE DOWNLOAD
Survival Key Three Tool & Skill Checklist
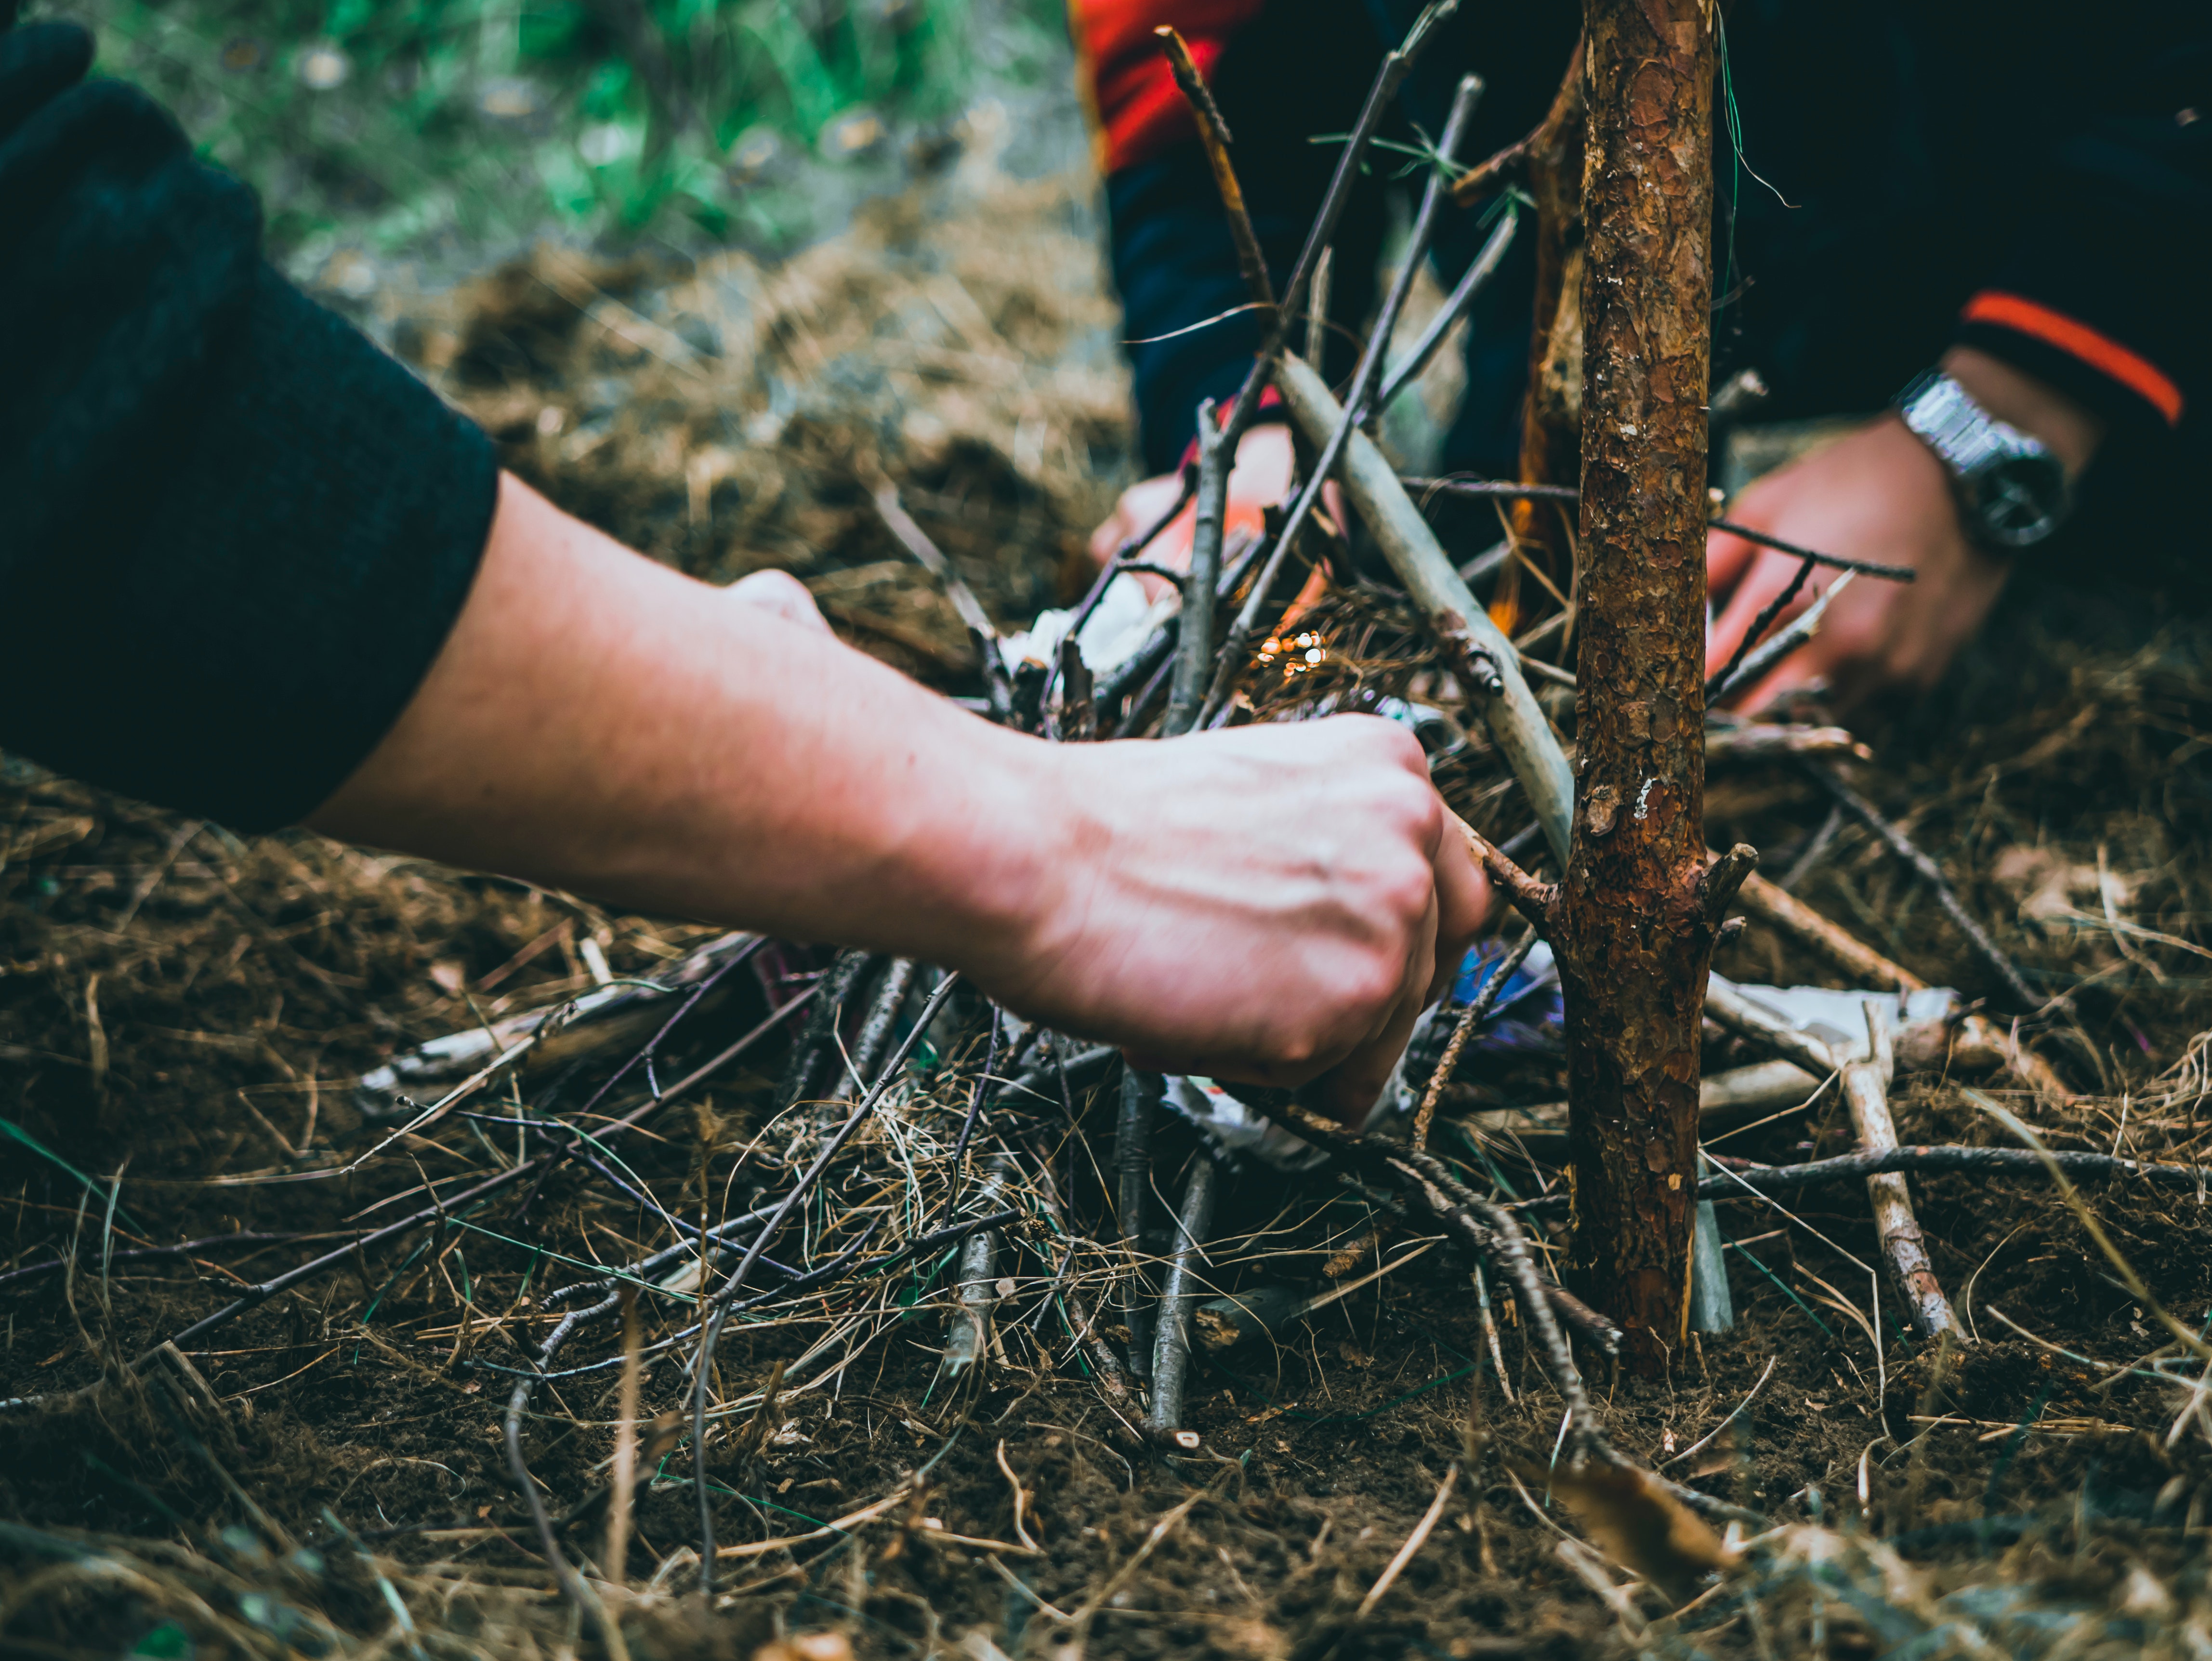
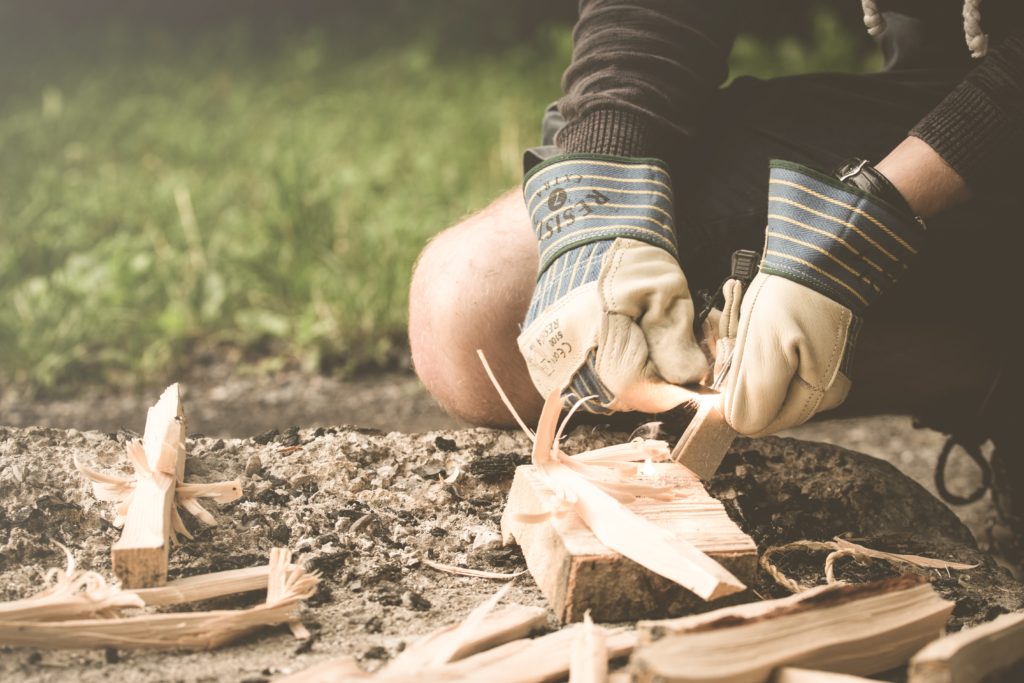
Fire: The Prime Directive for the Survival Rule of Threes

Fire provides warmth, builds morale, purifies water, kills parasites in food, refines tools, signals for rescue…well, you get the idea. Get fire right and the chance for survival increases tenfold.
And let’s face it, aside from a survival/bushcraft knife, fire building is the sexiest part of wilderness survival.
My Level One tool for fire production is the humble, but mighty, Bic Lighter. Pre-fabricated? Check. Requires minimal skill? Check. Even with my experience as a wilderness survival instructor, I’ll reach for my Bic Lighter before my Ferro rod or Fresnel lens to start a fire on a really bad day. And it gets bonus points for being cheap and portable. Not only is a Bic my Level One for fire, but it’s also in my EDC (every day carry), just in case I’m caught without my bug-out bag (see my post “Essential Survival Gear”).
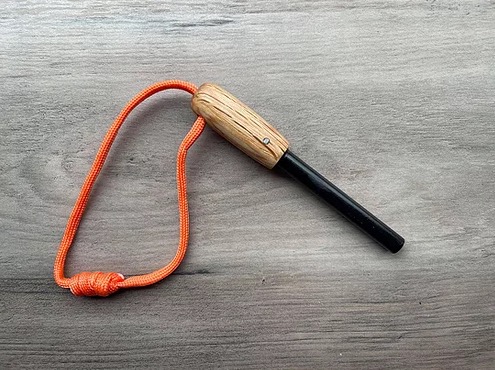
A Ferro rod is my Level Two fire tool. It’s pre-fabricated and requires an elevated skillset. Why the redundancy to the Bic lighter? It might be a rare occurrence, but Bic’s do fail and sometimes run out of fuel. In that case, the Ferro rod provides a high level of reliability and success, if you know how to use it. A Ferro rod is also in my EDC as a key fob.
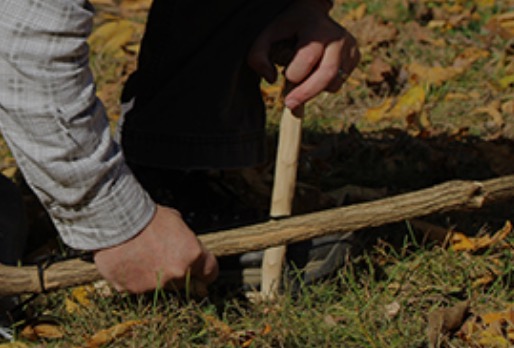
A Level Three tool for fire? Bow drill. It can be completely sourced and manufactured in the field. Just about the only places that lack the materials necessary to build a bow drill are in the middle of the ocean, on an ice sheet, or in a cave. Of course, knowing the materials needed to build a bow drill and mastering the skills to assemble and use it is another matter altogether. But that’s why our first level of defense is a Bic lighter.
Let’s look back at the Bic Lighter for a moment. Yes, it’s simple to use, but igniting and maintaining a useful fire still requires skill. I’ve seen heavily bearded, plaid flanneled, Wolverine boot-wearing, lumberjack wannabes fail to light a fire with a flair and kerosene, so success with a Bic isn’t guaranteed. Learn and practice the skills necessary to harvest, process, and use tinder, kindling, and fuelwood.
Breathe: Priority One of The Survival Rule of Threes
This priority can be summed up in a maxim: Air is free, use plenty.
If your air supply is threatened, then that’s your first priority. Do whatever you need to do to keep breathing: get out of the water, put on your mask, escape the smoke, whatever.
If the danger of suffocation or drowning isn’t an immediate concern, then…
S.T.O.P.
- Sit down and take a deep breath, calm down.
- Think rationally about your situation, your location, and how your got there.
- Observe your surroundings and take stock of what is at hand.
- Plan, but only after you’ve calmed down and gathered yourself.
To help make and execute a plan, we can use the Key Three strategy and apply it to the remaining priorities in the Survival Rule of Threes.
To learn more about S.T.O.P., read “If You Find Yourself lost: S.TO.P.” by Survival Mom.
Shelter: Priority Two of The Survival Rule of Threes
Information collected by the National Park Service reports that, aside from traumatic injury, hypothermia (being too cold) and hyperthermia (being too hot) are the most likely ways to die outside. Ironically, they’re the most preventable, too. I grew up in the snow country of New York state, the Poconos, and New England. Our family had a saying, “There is no bad weather, just bad clothing choices.”
I love hiking in the Presidential Range of New Hampshire’s White Mountains. The Presidentials don’t have the grand vistas or daunting peaks of ranges west of the Mississippi, but they possess a sublime beauty. In spite of its unassuming appearance, the Presidential Traverse is ranked among the twenty most-deadly hikes in the world.
Like much of the Appalachian range, the Whites are blanketed in lush green forest, except the Presidential Traverse, which is the only alpine zone east of the Mississippi. It’s this lush green canopy that lulls millions of people who live within a day’s drive (the D.C., New York City, Boston metroplex) into a false sense of security when they explore the Whites.
A hike through the Prezi covers thirty-ish miles and ten-thousand feet of vertical climb (up and down). That’s daunting, to be sure, but hardly the shin-splinting hike one would find in the Rockies. It’s precisely the range’s proximity to so many weekend warriors and its unassuming nature that makes it so deadly. By percentage of people that visit the Presidential Range it’s not particularly dangerous. But measured by total fatalities, it’s a range of mountains that still deserve respect.
It’s just three miles or so from the trailhead at Appalachia, the northern terminus for the Presidential Traverse, to the alpine zone at the col between Mounts Madison and Adams, but a southbound hiker gains 3,500 feet in elevation in those first three miles. It’s not uncommon to begin the hike while enjoying sunny skies with temperatures in the 80s. Then, dripping with sweat, the hiker emerges from the protection of trees to be assaulted by temps in the 40s, shrouded in misting clouds and winds gusting faster than 50 mph. As the clouds part, that hiker might catch a glimpse of Mount Washington, “Home of the World’s Worst Weather,” looming in the distance, another 3,000 feet above. The temperature on Washington has never topped 72 degrees, ever. The terrestrial wind-speed record of 231 mph was recorded on Washington.
More people have died on Mount Washington than have died on K2, which is generally considered more dangerous than Everest. Only 350 mountaineers have summited K2 with 77 climbs ending in fatalities during the last 70 years. Many more people (thousands) hike the Presidentials each year, but still, there have been 161 known deaths since Whit Mountain National Park started recording fatalities in 1849. Of those 161 deaths, 59 can be attributed to hypothermia and other non-traumatic injuries. Nineteen of the deaths attributed to hypothermia occurred between April and October. Thirteen occurred in June, July, or August. One of those summer hypothermia deaths occurred on June 13, 2019, just two weeks before I successfully completed a solo hike of the Presidentials with an overnight stealth bivouac in 30-degree temperatures accompanied by winds gusting to the low 50s.
What does all of this mean for a survivalist? “There is no bad weather, just bad clothing choices.” Almost all of those hypothermic deaths, and many of the others, could have been prevented with good clothing choices. Clothes are our most basic protection against the elements: heat, cold, sun, wind, rain, sleet, and snow.
That makes clothes our Level One tool for shelter.
We survival “experts” have a weakness. We tend to like solutions in search of a problem. We crush on each other’s knives, rush to learn the “knot du jour,” and extol the virtues of fatwood, but we often ignore the need to teach how to dress for survival. If appropriate and adequate clothes are the first and most integral shelter, then getting our clothes and layering skills right will cover a multitude of sheltering sins.
First, the negative rule of clothing: no cotton! Cotton is rotten and cotton kills. The only thing my cotton t-shirts are good for is lounging around the house. I might allow myself a cotton T-shirt for sleeping when I’m camping. Other than that, no thank you. As for pure cotton socks? Hard pass. I do own some cotton-wool blends, but that’s for moderate weather, only. Underwear? OK, you caught me. I do have some cotton undies, but they all came in my Christmas stocking. All of my go-to personal garments are made from wicking, fast-drying material or fibers that retain insulating properties, even when wet.
My fabric of choice? Merino wool, even for business and upscale wear (yes, there are merino wool dress shirts and dresses suitable for the finest dining restaurants).
Also, I also keep a water-resistant shell in my EDC bug-out bag. Columbia’s Glennaker Lake Rain Jacket is what I carry. It stuffs into its own pocket for portability. The protection that a humble windbreaker, overtop of proper layering, provides as the final layer always amazes me, even in a 20 degree windchill.
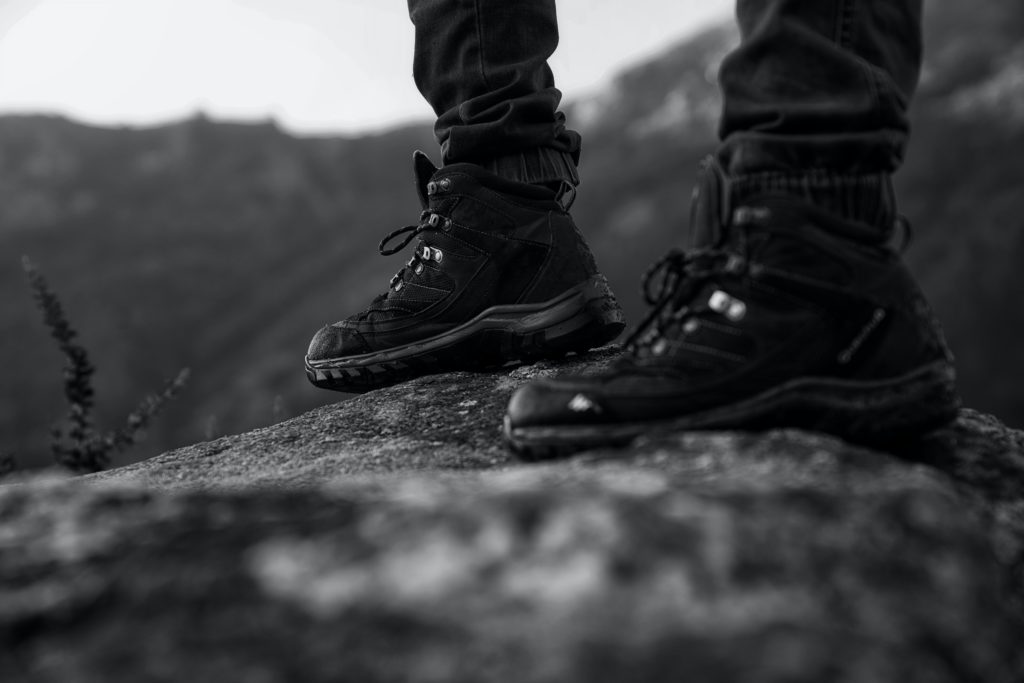
The final Level One tool for shelter is footwear. This one deserves its own blog post, but for now, the best advice that I have is to not cut corners on protecting your feet. This isn’t where you want to shop Amazon. Go to a reputable outdoor store (REI, Cabelas, LL Bean) and have a professional help you select foot-ware for your particular feet. Ask for a salesperson that does a lot of hiking. When they ask what you’ll use it for, tell them that you looking for something for general use that could also be for everyday casual wear.
I tend to go lighter with my footwear than many survivalists. My go-to brands are Merrell and Keen, specifically the Moab and Targhee models, respectfully. I have two pairs of Moabs mids, one vent and the other waterproof, and one pair of waterproof Targhee mids. It’s believed that Chris Kyle, American Sniper, wore Moabs while deployed in Iraq. For sure, Bradley Cooper wore them in the movie, so that’s a thing.
If clothing is the Level One tool of shelter, then layering is the skill that supports the Level One tool of clothing.
(I promise that posts about the virtues of merino wool, footwear, and layering will be coming soon.)
Thanks for sticking with me through all that talk of clothing. Smartwool socks aren’t nearly as sexy as a Ka-bar BK2 with custom scales and leather sheath, but to be honest with myself and you, then how to dress for survival needs to be emphasized.
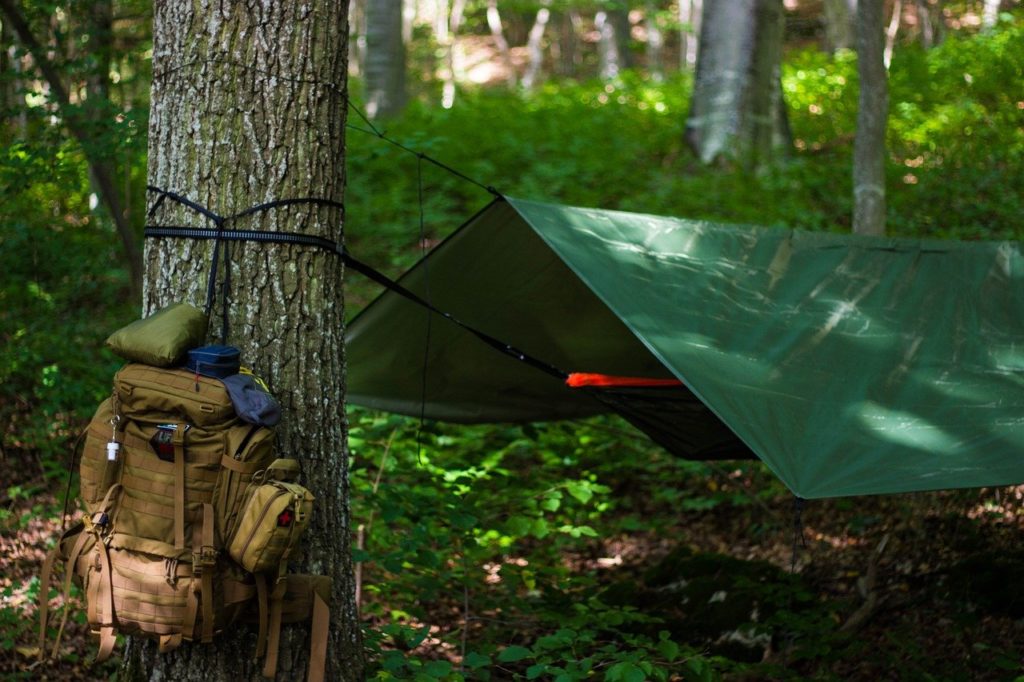
My Level Two shelter tool is either a 3×3 DD Tarp or a Bearhard heavy-duty emergency blanket. They’re Level Two tools because they can be used as a simple wrap (low skill level) or to construct a multitude of structures (elevated skill level). The DD usually lives with my hammock gear and the Bearhard stays in my EDC (every day carry)/bug-out bag. Ideally, I’d like to have both of them with me on a really bad day, but at least one of them is with me all the time.
[table id=1 /]
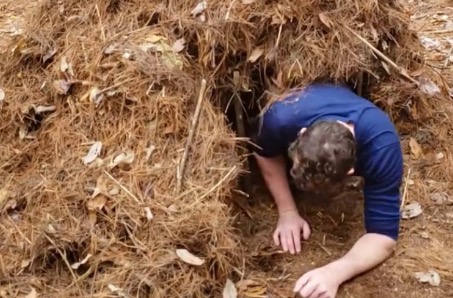
Because shelter is the highest priority in a wilderness survival scenario there are two Level Three shelter tools I choose between, depending on the situation, for protection against the elements: a lean-to or a debris hut. The lean-to is the more versatile of the two because it provides protection both inclement weather (rain, ice, snow) and also provides shade from the harmful and dehydrating rays of the sun. The debris hut is the more elemental shelter. Something as simple as covering yourself with discarded newspapers, cardboard boxes, pine boughs, etc. can provide a remarkable amount of insulation. But there are elaborate versions of the debris hut that are luxurious by comparison.
Cordage is the support tool for shelter. Whether we use it to tie off a tarp, fashion a sling, or construct pack frame straps we need cordage.
My go-to Level One cordage tool is 50 feet of 550 paracord; 1 hank of 30’ (ridgeline), 4 hanks of 5’ (tie-downs), and 4 hanks of 1′ (looped for Prusik knots). Paracord’s multitasking capabilities are vast. As with most of my Level One tools, it’s also part of my EDC. Frankly, I seem to be surrounded by it. In addition to my main stash described above my every day watchband is woven from para-cord; it’s wrapped around the straps of my bug-out bag; serves as my shoelaces (black 275 paracord, with shrink wrap acting as aiglets, make excellent dress shoelaces.
Jute twine makes an excellent Level Two cordage tool. Just like paracord, jute twine is a multi-tasker. A strong argument can be made for jute to be a Level One, because it works extremely well as tinder, but I don’t think that it’s as robust as paracord in its role as cordage.
Level Three for cordage is the reverse-wrap. Reverse-wrapping can be applied to just about any pliable material: vines, processed bark, strips of plastic from two-liter bottles, even paper towels or toilet paper. Keep in mind that processing and reverse-wrapping material for cordage is time-consuming, very time-consuming. Most survival scenarios are going to be resolved, either the situation will abate or you’ll arrive at a safe place, within three days. This is why an abundance of pre-fab cordage is with me all of the time.
Mastery of knots is necessary for all three levels of cordage to be useful. Also, with knots, I think in threes. In my experience, there are only three knots necessary to survive in the wilderness, the overhand loop, the taut-line hitch, and the prusik knot. Yes, there are other useful knots that may be better suited for certain applications, but with some ingenuity these three can be adapted to the most likely scenarios on a “bad day.” (By the way, the three knots I’ve mentioned are the beginner’s knots we teach at Valiant. Our introduction to cordage and knots class also includes the Evink hitch, bowline, square knot, sheep-shank, clove hitch, and basic lashings.)
Water: Priority Three of The Survival Rule of Threes
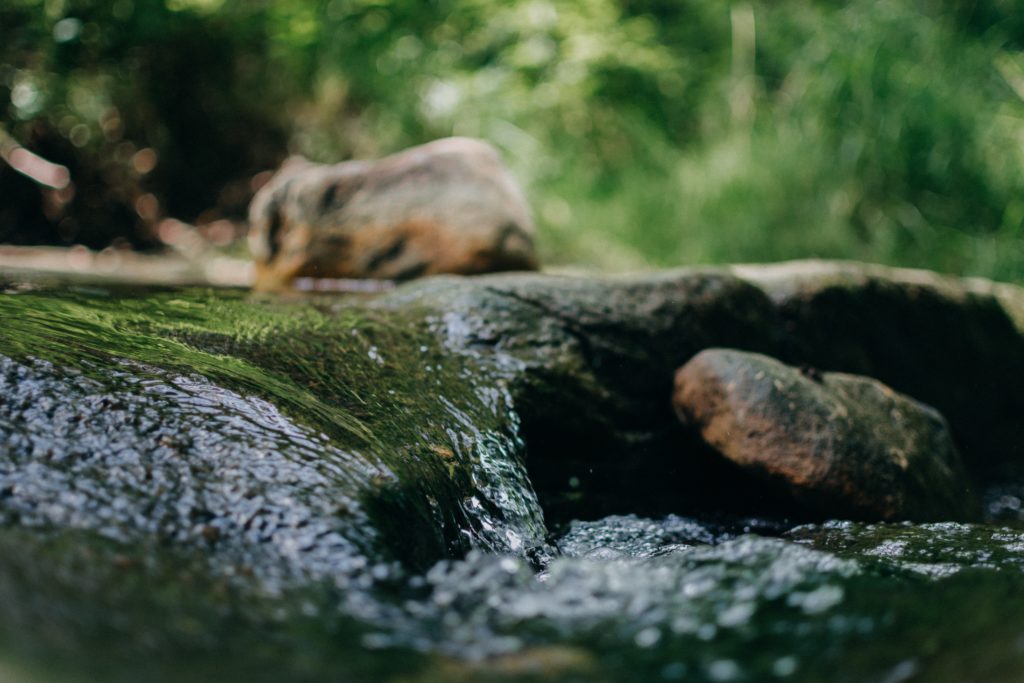
Water, it’s the stuff of life. There’s a crossover between shelter and hydration. It seems obvious that dehydration can lead to heat exhaustion and heat stroke, which are both forms of hyperthermia. If you are too hot, drink some water.
However, the connection between dehydration and hypothermia, low body core temperature, is less well-known, but just as vital to survival.
As I write this blog post the people of Texas are enduring a once-in-a-century snow and ice storm. Millions are without electricity which they use to heat their homes. Dozens of Texans have died from auto-accidents and carbon monoxide poisoning related to the storm. So far, three deaths have been attributed specifically to hypothermia, more will probably follow.
Tragically, it appears that all three of those hypothermia deaths occurred to people while they were in their homes. They died even though they were blessed with more shelter than many of us will encounter in a wilderness survival situation.
So, what happened in those homes, why did those people “freeze to death” even though they had shelter? Sure enough, it was cold inside their homes, but not as cold as what we imagine about someone stranded on the frozen tundra in a blizzard.
There’s no exact air temperature at which hypothermia sets in. Dr. Thomas Waters, an emergency medicine physician at the Cleveland Clinic, says, “There are no hard-and-fast rules as to the exact temperature at which you can get hypothermia or the amount of time it takes. Even at room temperature, you can become hypothermic, if the circumstances are right for it.”
What are those circumstances? There are many: age, medical conditions, medications, and others. But what is a leading factor in preventing hypothermia? You guessed it, staying hydrated.
The power outages created a secondary crisis. Municipal water treatment and distribution limited the water supplies at homes and businesses. Even as I write this there are many “boil the water” warnings throughout Lone Star State. I’m confident that the scarcity of water and a lack of knowledge of the importance of hydration in cold temperatures contributed to those fatalities. It’s likely that a contributing factor to deaths caused by the Texas storm deaths was lack of water.
Our bodies use water to dissolve minerals and nutrients, moisten and protect tissues and organs, prevent cramps, process food, and regulate body temperature. Lack of water in our body reduces blood volume (this is why they push fluids to you when you donate blood) which affects our circulation which in turn causes accelerated heat loss which leads to hypothermia. Of course, dehydration can kill us in many other ways, too.
My Level One tool for water? A water bottle. Carry water with you. Even without a survival mindset, water should be part of our EDC and we should drink it regularly throughout the day. Some people prefer a water-bladder system. Whatever you prefer, carry water with you and drink it and refill it at every chance. I contend that drinking while the supply is plentiful is the first step to survival hydrating. Survival situations or bugging out rarely give us advance warning. If we’ve stayed hydrated as a matter of course during the day, then our bodies will have one part of the Survival Rule of Threes taken care of. Why start out behind the game in an area that’s so easy to prepare for?
The Sawyer Mini Water Filtration system is my Level Two tool for water. This is another one of those Key Three tools that’s in my EDC. The Mini is so, well mini, that it fits in a pocket, a purse, a briefcase, or a backpack. The filtration system comes with a 16-ounce water pouch and Sawyer sells 32-ounce and 64-ounce pouches. I carry an empty 64-ounce pouch in the water-bladder sleeve of my EDC backpack and a refillable water bottle in a backpack side pocket. Even if the pouch springs a leak the Mini attaches to most commercial water or soda bottles, so sourcing a new container is easy.
Coming in at water filtration Tool Level Three is boiling. The Prime Directive of fire comes back into play here. In the unlikely event that my Sawyer Mini fails, then I’ll source water however possible, filter it through a bandana, shirt, hat, etc., and then boil it. I carry an inexpensive steel cup in my EDC bug-out bag, but there is a multitude of sourced items that can be used to boil water, i.e. soup can, soda can, even a plastic bottle or paper cup (the skills for the last two will be demonstrated in a future video).
Food: Priority Four of The Survival Rule of Threes

If you’re unlucky enough to still be stranded or traveling when the Survival Rule of Three about food comes into play, then it’s probably too late to start thinking about food. The human body can survive for three weeks without food, but waiting that long will probably be past the point of no return. Ideally, we should start collecting water and planning to harvest food as soon as we finish our shelter. One reason that I prefer a lean-to with a tarp as my shelter is that I can tie-off one corner a little lower and form it into a type of funnel. I then place some type of catchment device under that corner to collect rain run-off or even a few drops of condensation from underneath. But both of those options are for dire circumstances.
Food should be considered in much the same way. It may not be the first priority, but the sooner you start thinking about it, the better. Just like bottled water serves as my Level One hydration tool, pre-packaged food is my Level One nutrition tool. In my EDC bug-out backpack are some type nutrition bars, all the time. Eaten as a quick snack on the move in the first 12-24 hours they’ll stave off hunger pangs and provide enough calories to keep going. My preferred nutrition bars are Natures Valley. They pack well and I like the taste, but Cliff, Nutrigrain, and Kind bars will all work.
If my survival stay in the wilderness extends into 48-72 hours, then my Level Two nutrition tool comes into play. Flavored tuna packets and some dehydrated side packets cooked in an inexpensive steel cup work nicely as nearly full-fledged meals to replenish calories burned in the first day and a half. I like the flavored Chicken of the Sea tuna packets and Knorr Rice sides. The tuna packets work well even if a fire isn’t possible. Make sure to rotate your stock. Their shelf life is relatively shorts, compared to MREs.
By the way, what about MREs? I use and strongly endorse MREs in bug in scenarios or when bugging out by motorized vehicle, but they don’t really fit into this philosophy. Literally, they’re too bulky and heavy for most survival situations. The exception is MRE crackers. They’re cheap, light, and have a long shelf life. I pick up a few every time that I visit the local military surplus store and then throw them in my bug-out bag.
Because most survival scenarios are resolved within the first 72 hours, I spend most of my time training for fire, shelter and water, rather than on foraging. But there are a few “go-to” plants that even beginning foragers can identify and eat safely. Dandelions, chickweed, fiddleheads, and stinging nettle are some common plants that are nutritious and edible with little or no preparation (stinging nettle is particularly nutritious and high in protein, but requires some special preparation). Also, berries are comparatively easy to identify. Look for blackberries, raspberries, and blueberries.
Cutting Tools
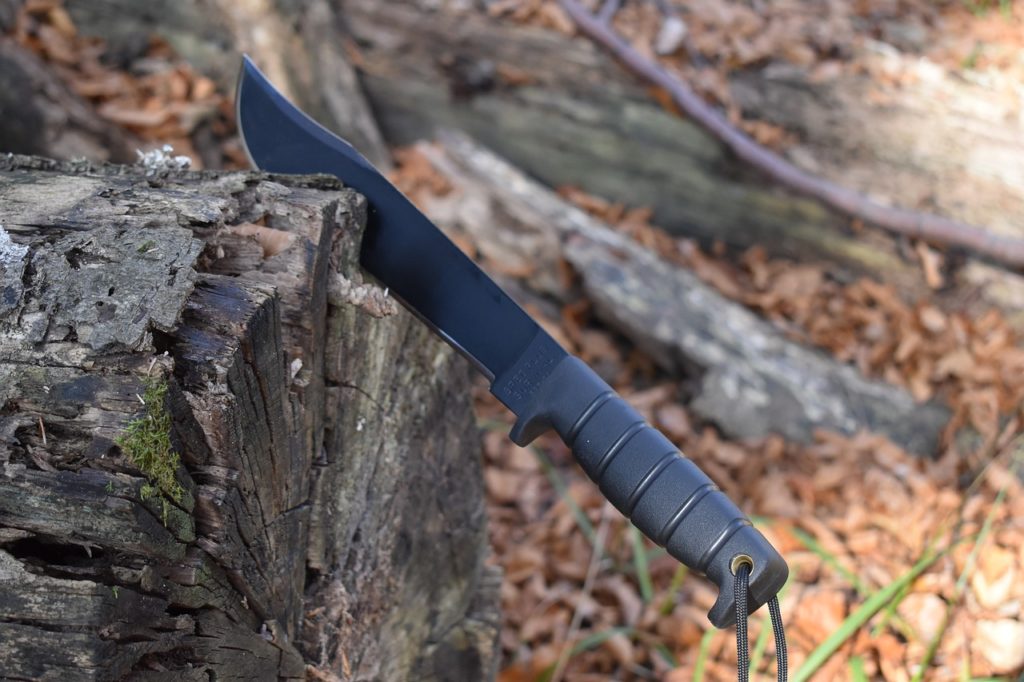
Cutting tools have been integral to survival for almost as long as fire. The primary tool for any survivalist or bushcrafter is their knife. Like fire, your knife transcends any single aspect of the Key Three. Knives are used to process fire and shelter material, fashion water catchment systems, harvest food, crate other tools, and much more. Because knives are integral to survival, The Key Three approach to cutting tools differs from the other tools.
Knives differ from other Key Three tools in that all knife levels should be pre-fabricated and have redundant abilities, but some unique qualities, too. (Though, I strongly encourage you to learn how to source cutting tools in the wild.)
A good Level One survival knife has a three to five-inch fixed blade with a comfortable handle. A full-tang is preferred, but not necessary because it should be relatively light-weight, ideally finding a place in our EDC backpack, purse, or brief-case. It should also be affordable because it will probably be the first survival or bushcraft knife you own. A Smith and Wesson Tanto with a drop tip rides along in my EDC bug-out bag as a Level One tool, but if I need a little extra room I swap it out for a Morakniv Companion. An Esee 3 or 4 would make a nice upgrade.
[table id=2 /]
Neither the S&W nor the Mora is a full-fledged bushcraft knife, but what either one lacks in a full-tang and heft is made up for in portability. The “catch” is that lightweight knives require an enhanced skill. (We have a supply of the S&Ws and Moraknivs as loaners at our family survival school. In all the time that they’ve been used by beginners for carving, batoning, and general misuse, we’ve never had one fail.)
My Level Two knife is a Buck 110 Folding Hunter. “A FOLDER?!!!” I know, I know, but hear me out. The knife you have with you is better than the knife that you don’t. My Buck is non-negotiable EDC. Whether I carry it in a belt holster or as a pocket knife, it has been a constant companion for decades. If my EDC bug-out bag isn’t with me, my folding Buck is the best “knife” because it’s the knife that I have with me.
Here’s the thing, though: a cheap folder won’t do, it can’t be the free plastic handled blade you got for free at some gun show.
A Level Three knife has a full-tang (extended at the pommel), a 4 to 5-inch blade that is at 1-inch wide. This is your Crocodile Dundee moment, “That’s not a ‘knayfe,’ this is a ‘knayfe.’” I use either a Ka-Bar BK2 or Esee 4. If you’re familiar with the BK2, then you understand why it doesn’t live in my EDC bug-out bag. It’s so substantial that some people consider it a mini-hatchet. Either my BK or Esee is usually close enough for me to grab before bugging out. One rides in a convenient, undisclosed and secure, location in my truck. The other is in my bushcraft kit, along with several other cutting tools.
[table id=3 /]
First Aid
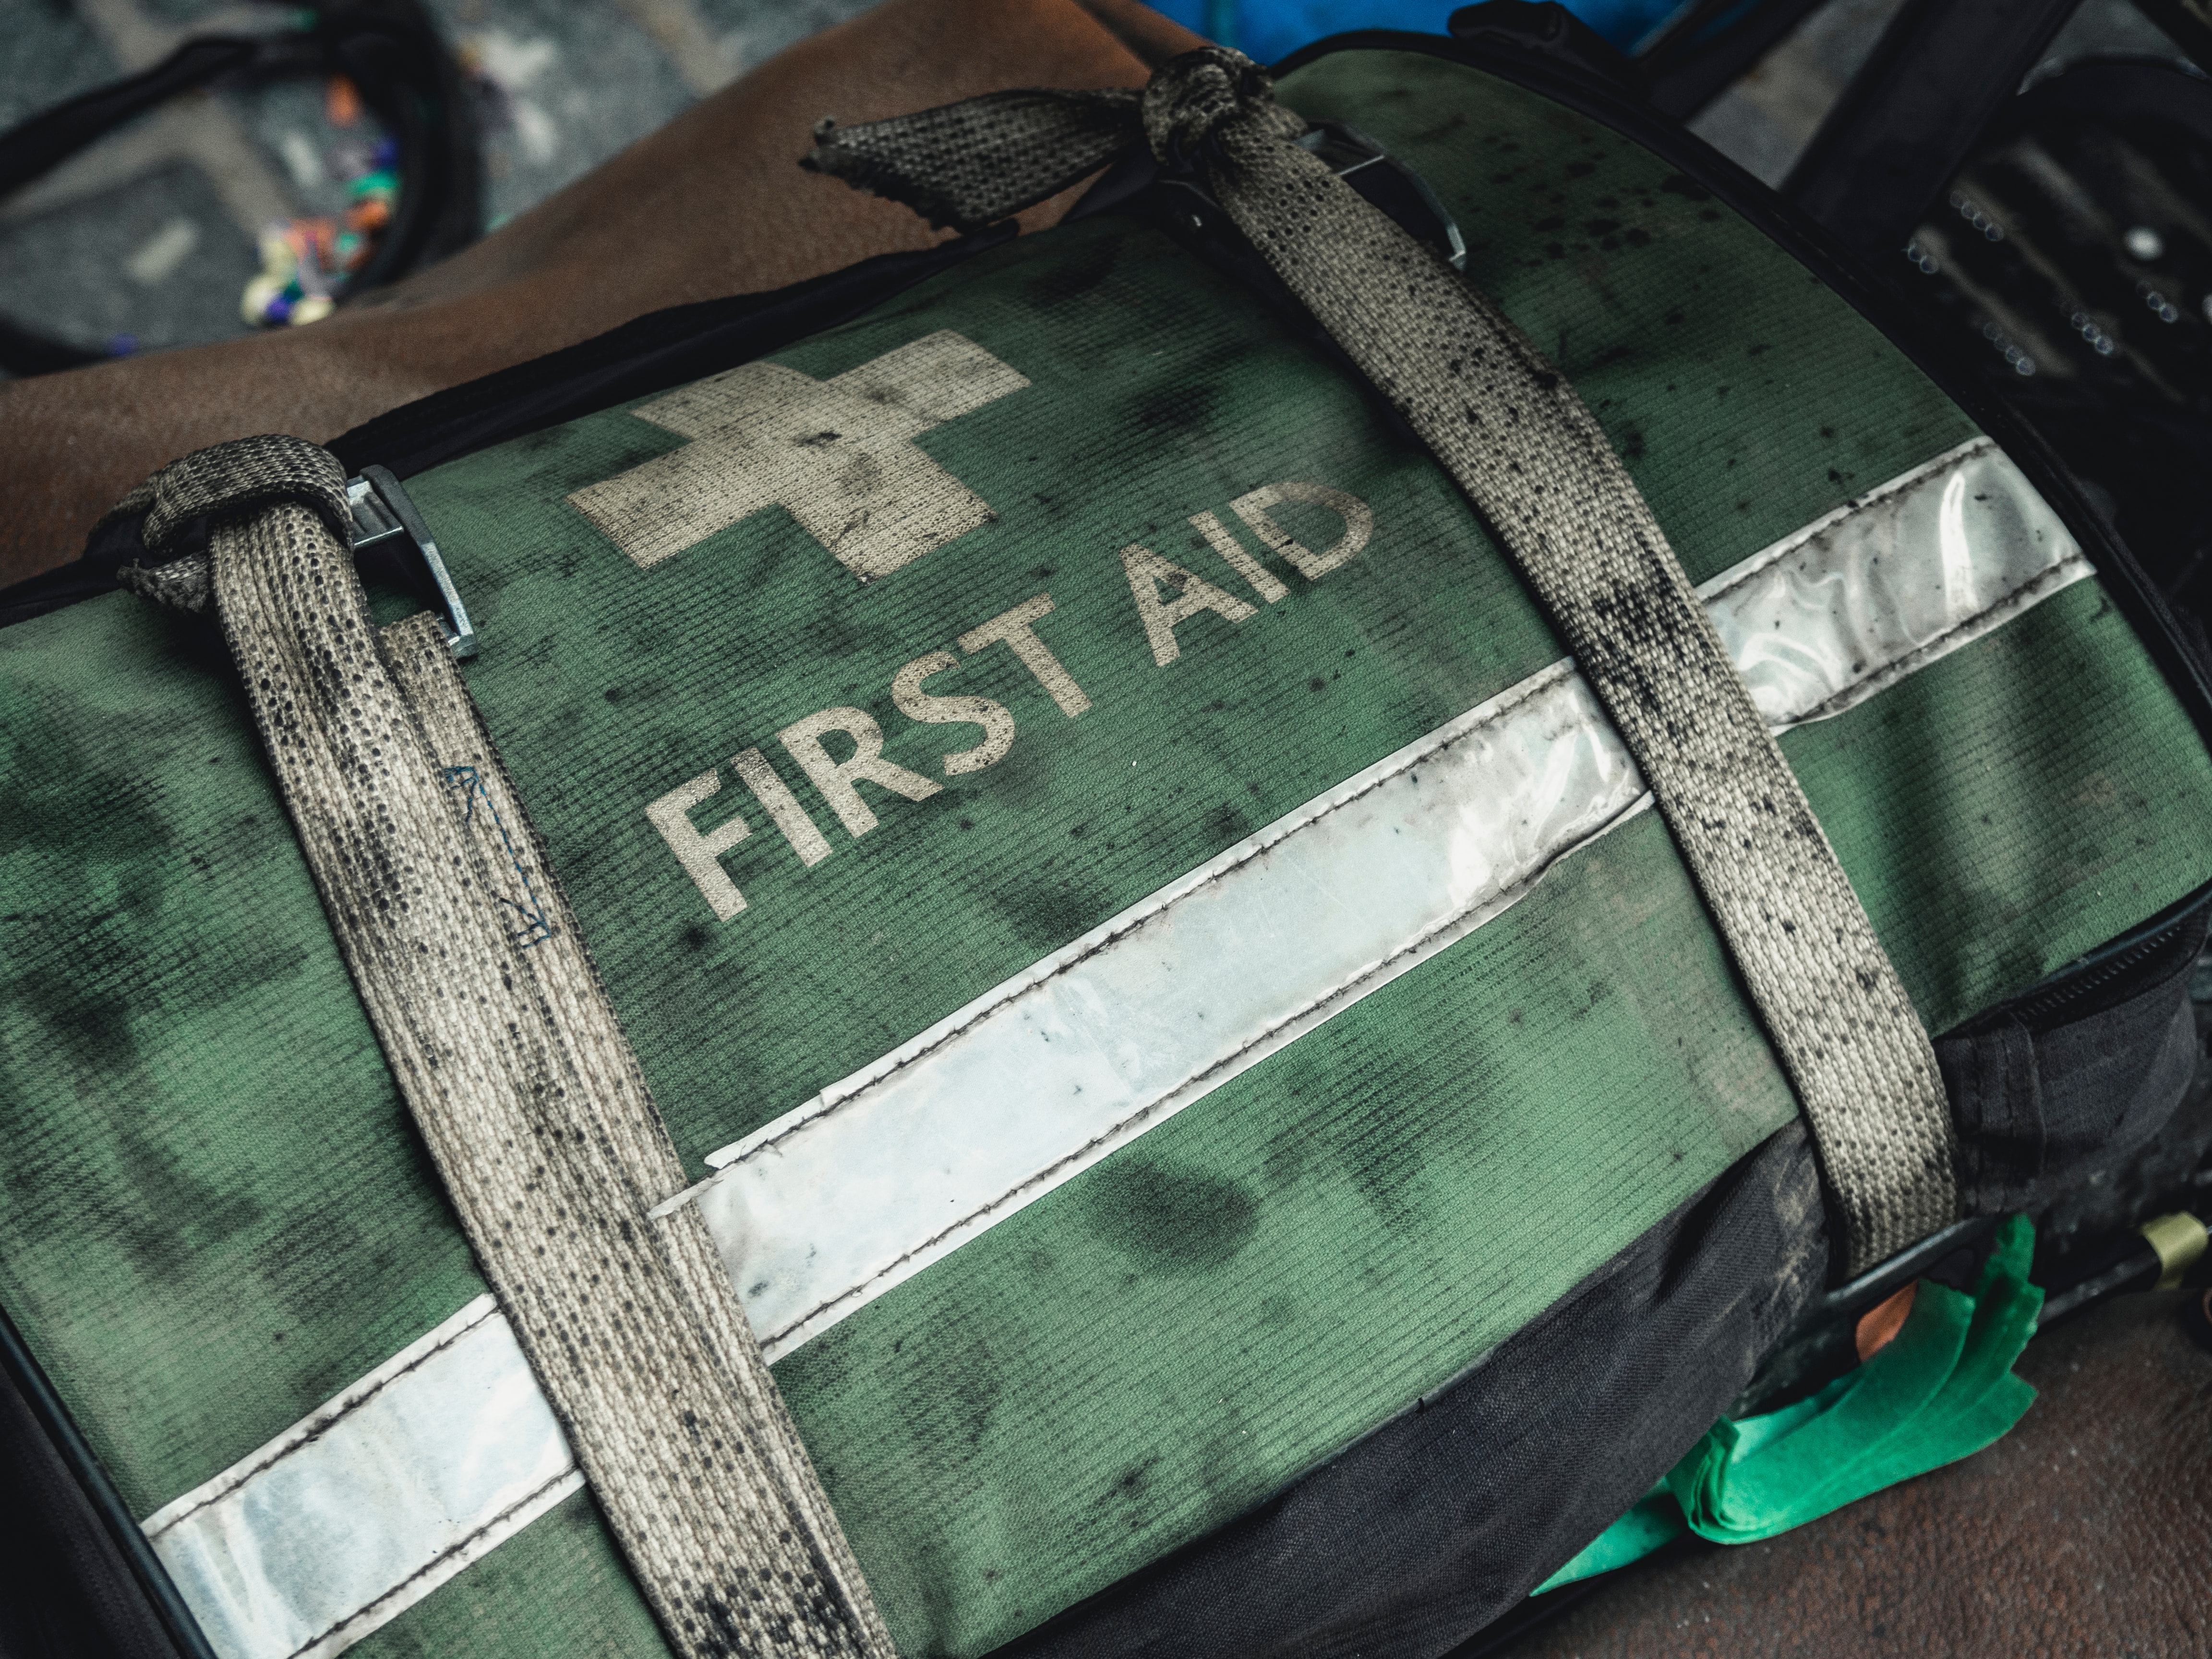
First-aid is considered part of shelter in the Survival Rule of Threes, but we teach it as a separate skill just like we do with knives. Your first-aid kit or med pack is the one tool in your bug-out bag that isn’t defined by levels, it is what it is. More than any other tool, your med pack is determined by your comfort level and a risk assessment. As we saw earlier in the discussion of hypothermia, the chance of life-threatening or traumatic injuries in a wilderness survival experience is slim. Most survival scenario injuries are minor scrapes and cuts or digestive distress.
The minimalist approach to survival first aid is to carry something like the following list:
- Adhesive bandages and gauze
- 1” x 3” – 1
- 22” x 4” – 2
- Butterfly – 4
- 2” x 2” sterile gauze – 2
- 3” x 3” sterile gauze – 2
- 3” x 4” Moleskin – 2
- Medication
- Aspirin (Bayer, etc.)
- Acetaminophen (Tylenol, etc.)
- Ibuprofen (Advil, etc.)
- Oral and topical antihistamine (Benedryl, etc.)
- Loperamide Hcl (Imodium)
- Minor wound care
- Antiseptic wipes
- Triple antibiotic ointment
- ½” x 10 yards medical tape
The Family First aid kit from Adventure Medical Kits is an inexpensive way to add all of the above to your bug-out bag.
I tend to be a minimalist about my bug-out or bushcraft gear, but I confess that my med kit is “over-stocked.” Because I participate in some high-risk leisure pursuits I also carry a SAM splint, an Israeli bandage, quick clot gauze, an instant cold pack, a CAT tourniquet, and medical shears. (Amazon Affiliate links below.)
A great approach to building your med kit is to start with the pre-packaged kit from Adventure Medical, then add to it as your skills improve.
The 80-20 Rule
and
The Survival Rule of Threes
Now that we’ve outlined the Key Three concept, let’s make it more effective with the 80-20 Rule. One aspect of the 80-20 Rule says that 80 percent of our effort and resources should be directed toward the top 20 percent of what leads to success.
Having said that, 80 percent of our training, practice, and resources should be dedicated to shelter, including clothing, fire, first-aid, and structures. This is because shelter is the first thing we need for survival, it’s the thing that we need throughout the survival experience, and most survival scenarios resolve themselves before our Level One and Two tools for water and food supplies run out.
The 80-20 rule is also why I identify no more than three options for shelter structures, knots, fire ignition, etc. We have the greatest chance of survival if we master those three things that have the greatest impact and highest chance for success in the most likely scenarios. Based on my favorite childhood TV shows I expected that quicksand and lava were going to be much more of problem in my life. Now, I understand that it doesn’t make much sense for me to spend a lot of time practicing how to extricate myself from the stuff.
In all seriousness, because I live in Florida it’s unlikely that I’ll need to survive breaking through the ice on a frozen lake, so I spend almost no time training for it. On the other hand, my brother in Buffalo, New York probably won’t encounter an alligator in the wild, so learning how to avoid or escape a “death roll” doesn’t have a high rate of return for him.
As I said above, 80 percent of my time, resources, and training are dedicated to apparel, shelter, fire, and shelter construction skills. The remaining 20 percent is divided into 15 percent toward water sourcing skills and 5 percent for learning how to harvest food in the wild. I apply the same approach when training others and encourage them to continue applying the 80-20 Rule as they improve their bushcraft and survival skill.
Taking the Next Steps in Your Survival “Thru-hike”
The goal of this post is for you to take your first simple steps toward survival in a worst-case scenario. Knowing the Survival Rule of Threes and grasping the Key Three is like the first steps taken on a thru-hike. Those steps are simple, but mastering them isn’t easy. Survival in an austere environment requires effective and repeatable skills; skills that reliable when we’re under duress.
Repetition of these simple steps is vital. Practice, practice, practice, and continue to add more skills. Reading a blog post or magazine article is good, but it falls woefully short. Some skills are well-learned by watching a video or taking an online course. But the best way to learn and master survival skills is with an in-person or mentored course. If possible, get to know an experienced survivalist or bushcrafter. And then, repeatedly test yourself in the wild.
FREE DOWNLOAD
Survival Key Three Tool & Skill Checklist
Remember, survival is more than just staying alive.
[table id=4 /]